How to Stream Live Video from a 3D Scope II
Video Streaming with a 3D-Scope II
Table of Contents

Video streaming allows live camera images to be streamed over the network and viewed live on a client using a software like VLC media player or recorded in a video recorder. The streaming functionality is based on the Real Time Streaming Protocol (RTSP*). The Video data is encoded with H.264*.
The streaming functionality can be activated, deactivated and parameterized via the user interface.
Video streaming is enabled in the the video recording license. It is not possible to use video recording and video streaming at the same time. Some devices can not store video recording. But you van install a video recording license for video streaming.
To receive the videostream is connect to the URL
rtsp://[ip-address or fqdn]:[port]/video
- Download VLC Media Player from https://get.videolan.org/vlc/3.0.6/win64/vlc-3.0.6-win64.exe
- Open the 3D-Scope II portal in a web browser
- Go to the Network Section
-
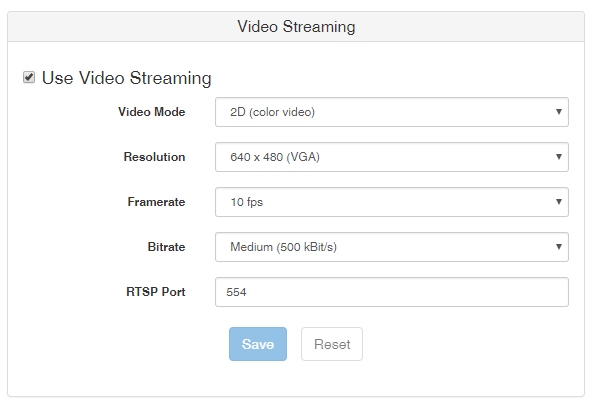
Enable the Video Streaming option (See image below) by checking the Use video Streaming box.
- Open VLC media player
- Click on Media
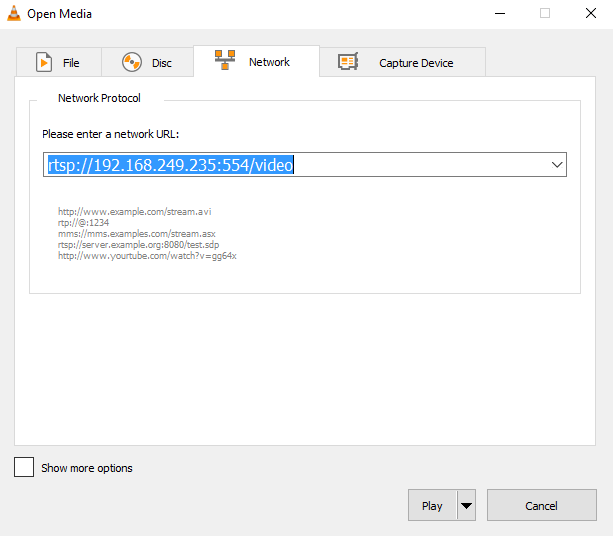
- Select Open Network Stream.
- Input rtsp://192.168.249.235:554/video
-
Click on the play button.
- A VLC window with the stream will be displayed.
Recording a 3D-Scope II Network Stream with VLC Player
How To Record with VLC Windows
-
Open VLC Player

Set the recording location
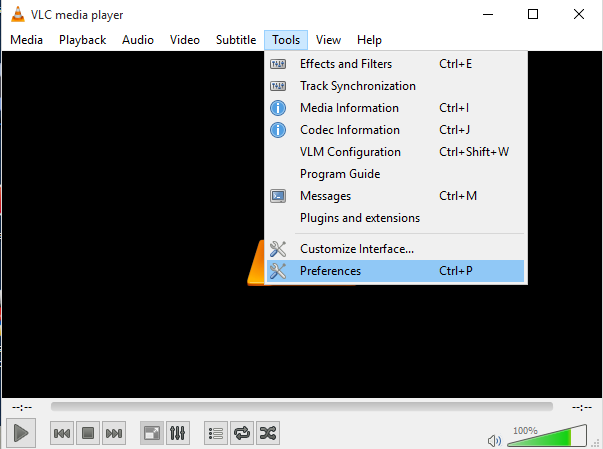
In VLC select Preferences from the Tools menu
In the Preferences Window, select the Input/Codecs tab. Use the Files > Record directory or filename field and click Browse to find a location to store/record your saved video files. C:\Users\username\Videos or another folder on your drive. (On Bethel systems, seems not to record to Desktop?)
Click the Save button at the bottom of the Input & Codecs Settings window.
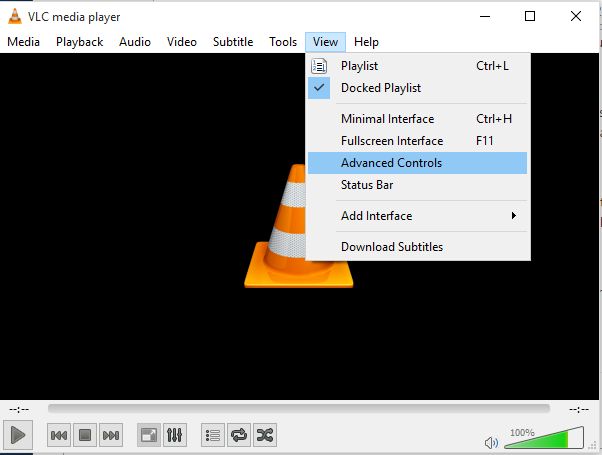
Activate the Record Tool: Select the View menu and select Advanced Controls. This will place the record tools on your VLC player window.
Access your Network Stream
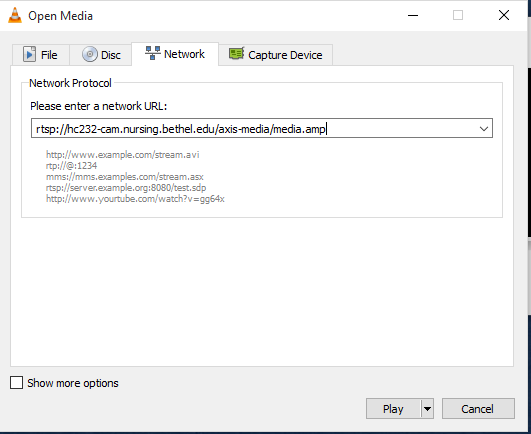
Select the Media menu and select Open Network Stream
Enter the address of the network stream in the Please enter a network URL field and click on the Play button in the Open Media window. Note that an authentication box may pop up if access to a network stream is restricted.
-
Record
In the VLC player window click on the red Record button, which will turn blue to signify that recording is enabled.
Press the Record button again to stop recording. Recordings are stored in the folder you set in step 2 above.
To Record with VLC (Mac)
File/Media > Open Network
Paste in URL for Multimedia Stream from above
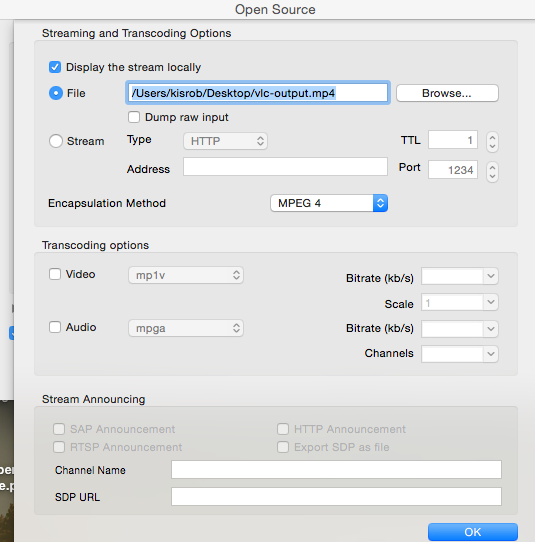
Check Streaming/Saving
Click Settings
Check Display the stream locally
Check File and browse to where you want to save the file
Encapsulation method set to MPEG 4
Click Okay
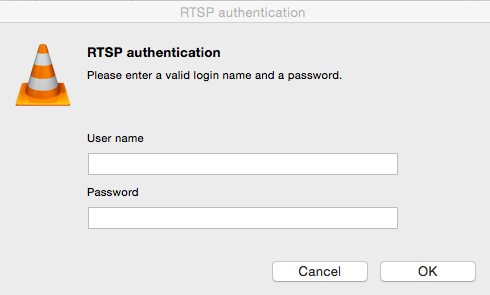
Click Open to start, enter username and password for the camera and click okay
Click the stop button to stop recording.